
We’ve created this overview to walk those new to voice development through the process of making an Alexa skill. No coding experience is required for this, and we think experts and novices alike will succeed in building their first skill by following this tutorial.
Know Before You Code
For novice skill builders and non-coders, we recommend starting with a simple fact skill. In this guide, we’ll make an Alexa skill about one of our favorite furry animals – llamas.
In the end, we’ll be able to talk to Alexa and she will tell us a random, fascinating fact about llamas.
Download the Project
To make things easier, we have the code for the skill ready to download. Get it on Github, a platform for sharing code and working with others. This is our llama fact project.
If you’re familiar with Github, you can start right away and make a copy of the code. If you’re new to Github, don’t worry, here’s download link. Click and it will automatically download the project as a zip file. Then, unzip it, and get ready for the next step.
Run the Project
1. To run the project, you need to use a tool called NodeJS:
Go to https://nodejs.org/en/download/ and install the appropriate version for your computer. Download the LTS version (with the Installer) recommended for most users.
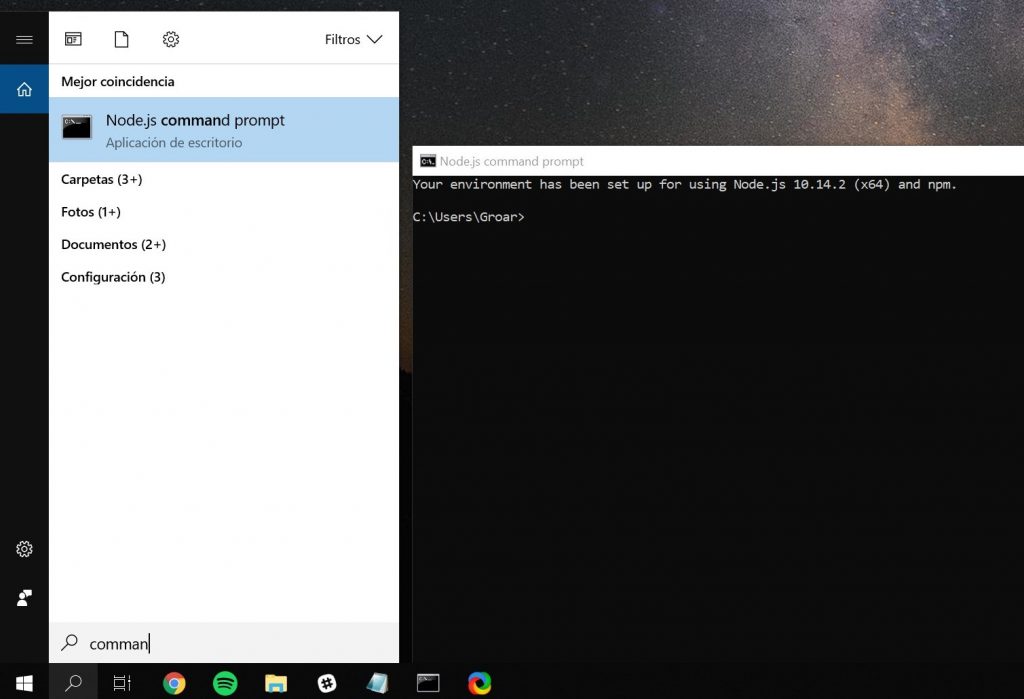
Once NodeJS is installed, test if everything is working. You’ll need to use the Terminal in Mac or Node Command Prompt if you’re in Windows.
Mac
Windows
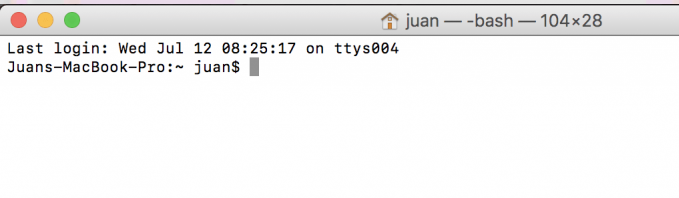
To make sure your node works, type this into your terminal:
node -v
If your output looks like this:
C:\Users\Groar>node -v
 v10.14.2
Then everything is working correctly.
2. Now, we’re going to run the skill without an Echo device:
Open the project folder from the Terminal by using the cd command plus the folder. For example, if you unzipped the project in your Downloads folder, type this command:
$ cd Downloads/llama-facts-master
Press Enter and you’ll be in the folder.
We’re going to use Bespoken Tools to set up the project and run the skill from our local machine. But before doing that, we need to install some libraries that we use. Type this and press Enter:
$ npm install -g bespoken-tools
Note: If you are on MacOS and the command fails, it’s probable that you need to execute it like this:
$ sudo npm install -g bespoken-tools
Then you need to install some libraries that we use. Write this and press enter:
$ npm install
This will take a few minutes, the libraries that we use will be downloaded. Once it’s done, it’ll look like this:

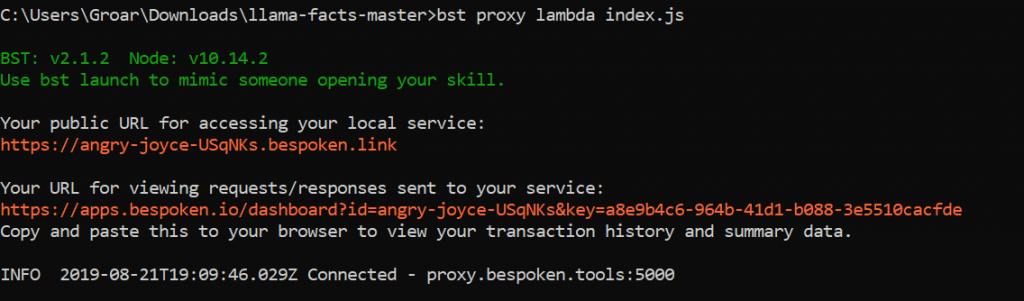
We are going to use our proxy tool to run the skill locally, to start the proxy run this on your command line:
$ bst proxy lambda index.js
And you’ll see this:
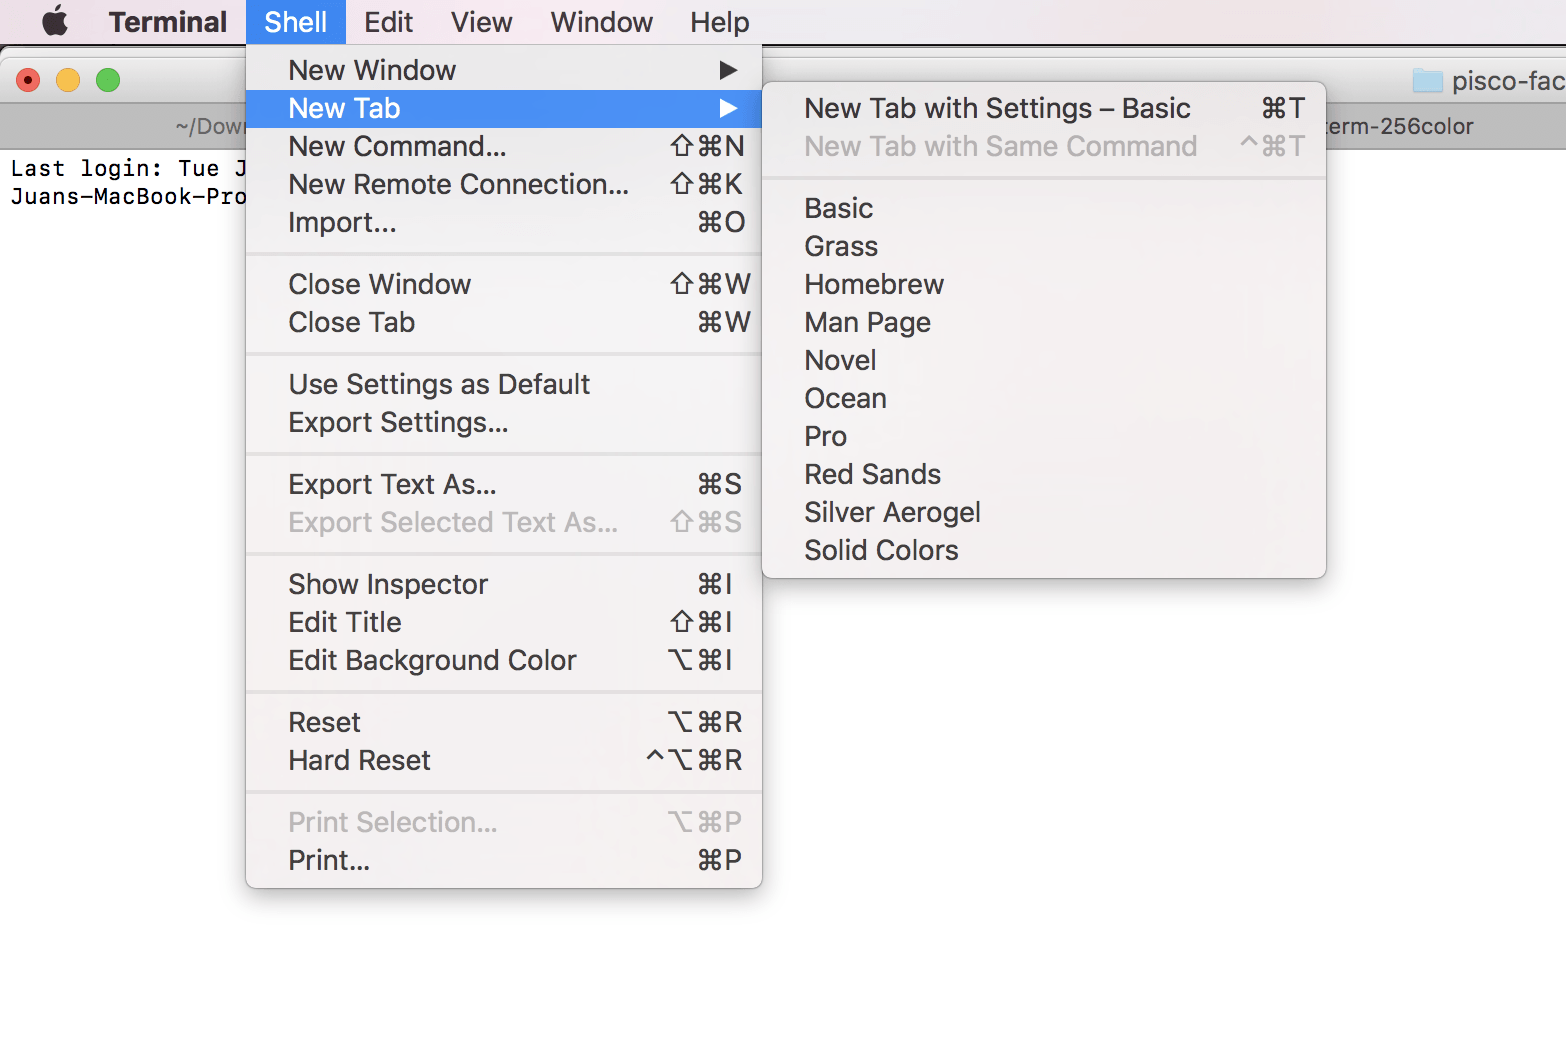
3. For the next step, leave this window open and open a new tab. In Terminal do this by opening a new tab from the Shell Menu. Select New Tab with Settings – Basic.
Let’s launch the skill by running this in the new command line you just opened
$ bst launch
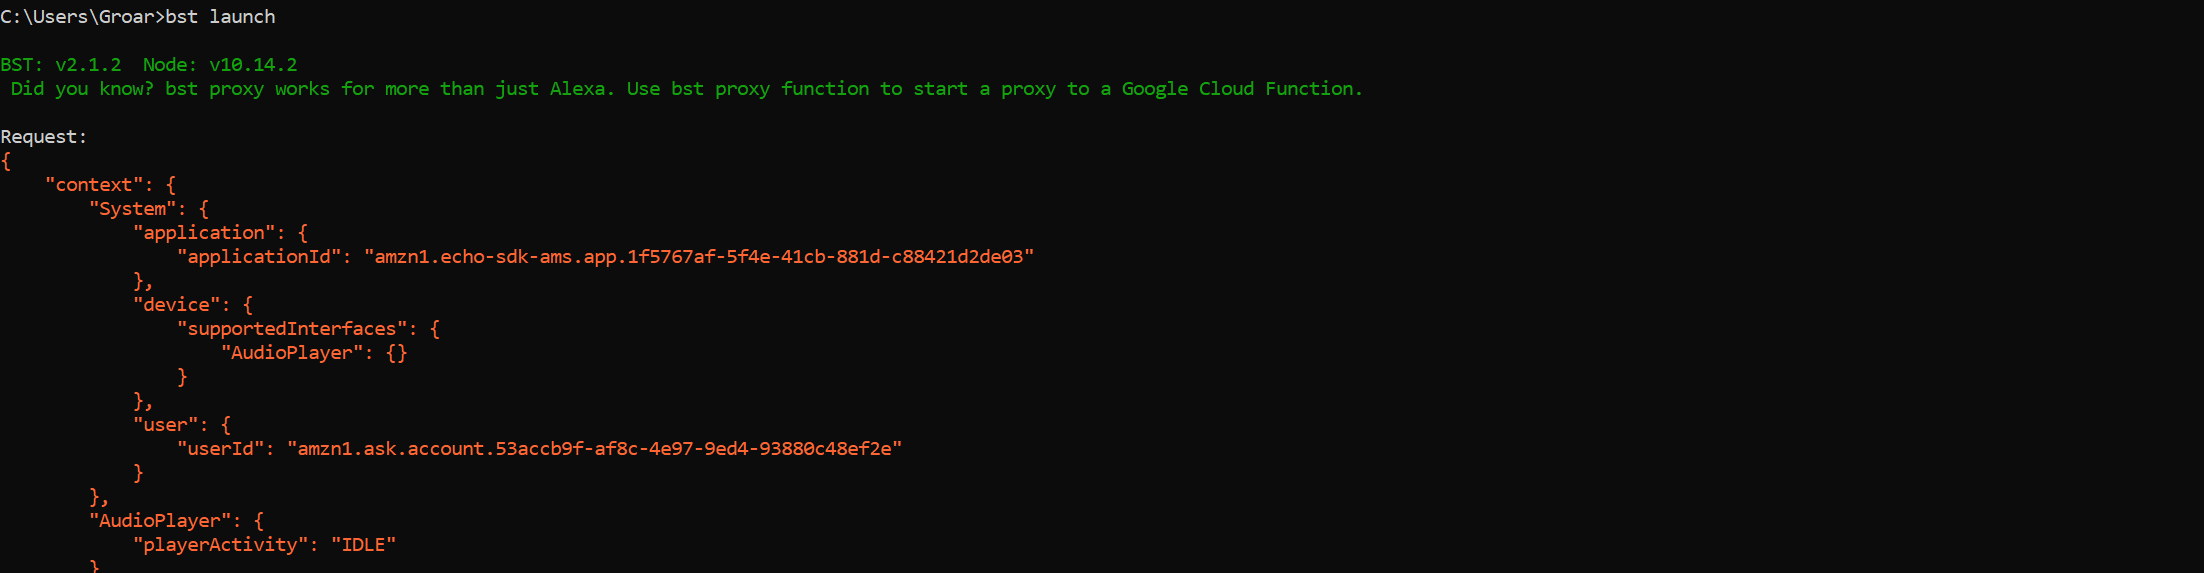
If you get output like above then everything is working correctly. Good job! The command you typed just sent a request (similar to the one you send to Echo with your voice) and generated a response that your Echo can understand in order to speak to you.
Now it’s your turn to create the skill so that you can use it directly on the Echo.
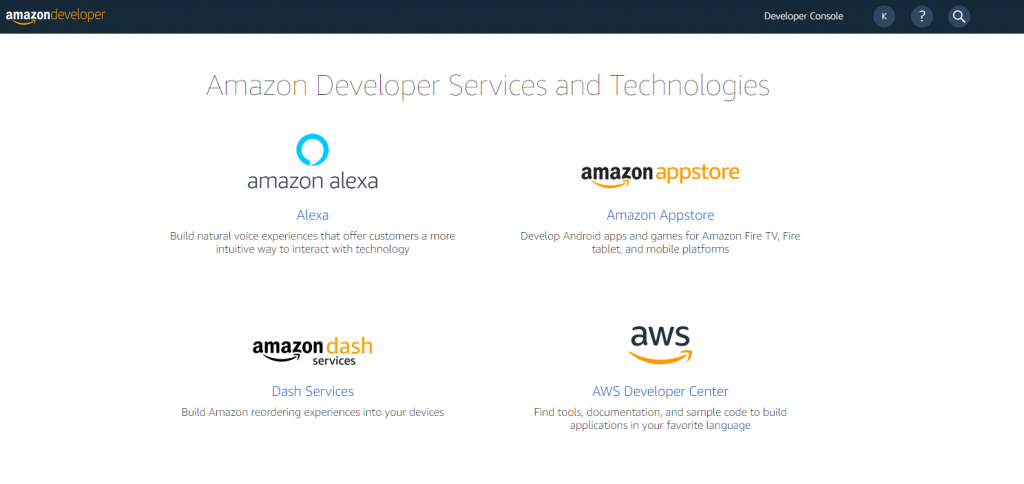
Create an Amazon Developer Account
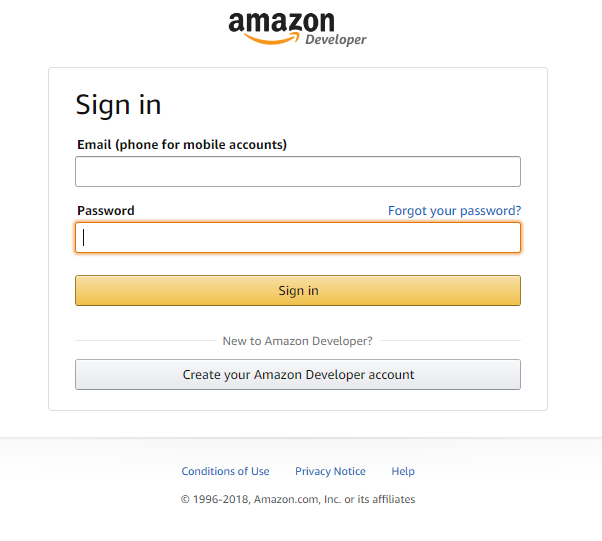
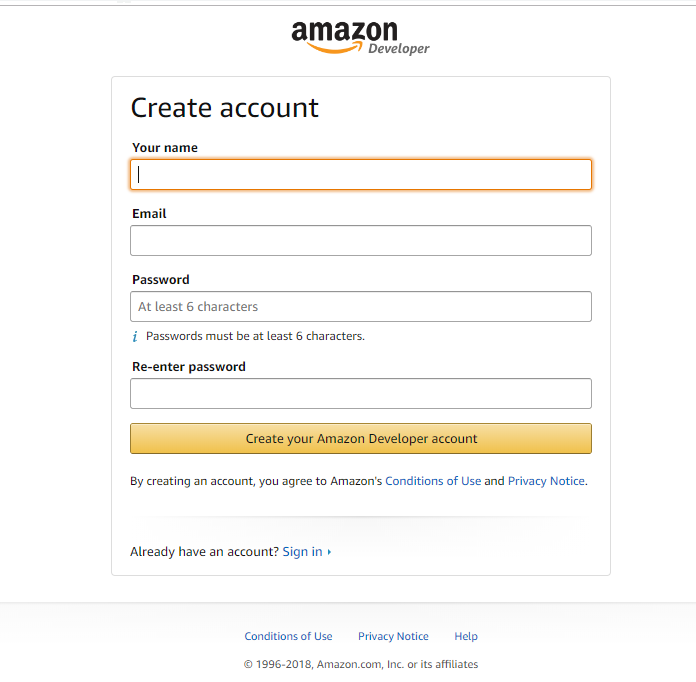
If you already have an Amazon Developer account you can use that one. If not, go to https://developer.amazon.com/ and register. It’s free and takes just a few minutes.
Fill out the necessary information. You don’t need to add any tax or seller information since this is only a test skill.
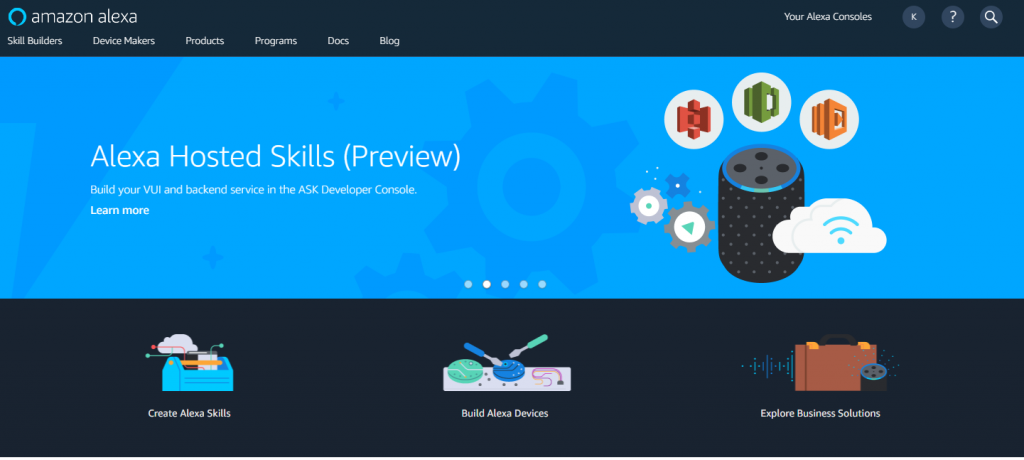
Make an Alexa Skill
When you log in to your developer account, you’ll see a dashboard like this one:
1. Go ahead and click the “Amazon Alexa” option and on the next screen click on “Create Alexa Skill”.
2. Select the “Start a Skill” option.
3. Skill name and invocation name.
Your skill name and invocation name (the way in which you’re going to tell Alexa to use it) is going to be “Llama Facts.” So, type those values and leave everything else as default. Go ahead and click “Create a Skill”.
4. Choose a template.

You’ll be presented with this new page and you’ll have to choose a template (Choose “Fact Skill”).
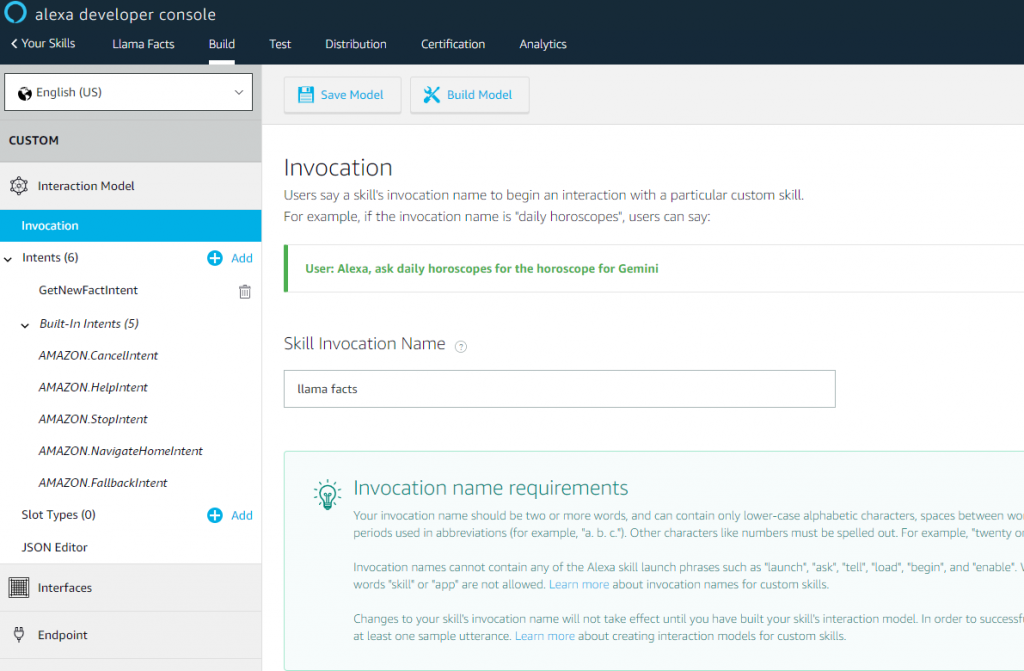
5. You will land here. On the right hand menu, we’re going to tell Alexa the invocation name (Alexa, open llama facts).
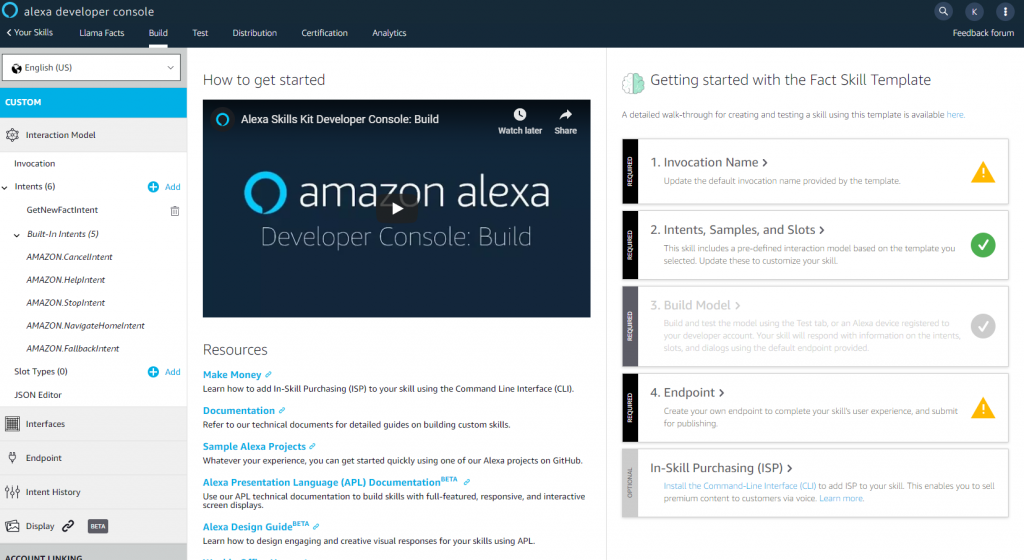
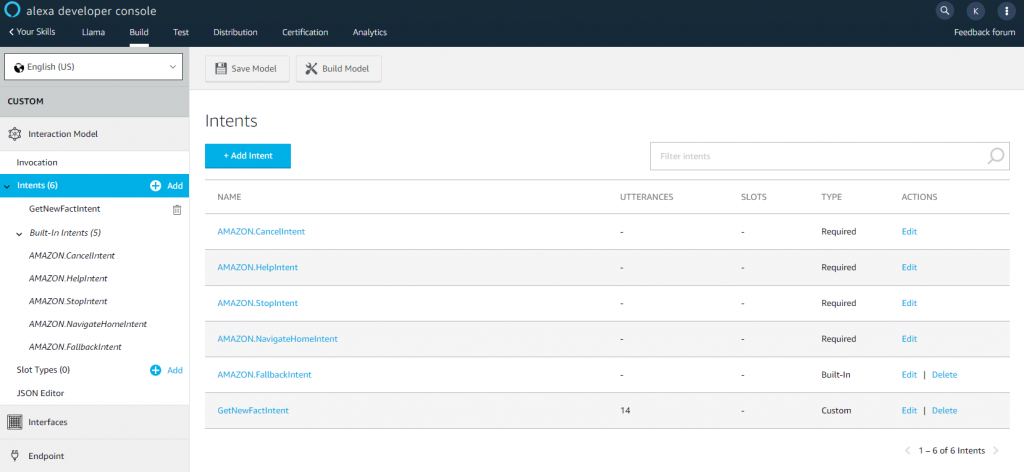
6. Then we’re going to tell Alexa what we expect someone to do in our skill (Intents) and we’re going to give her some examples of how we’re going to ask for that action (Utterances). Choose “Intents” on the left-hand menu. Then choose “JSON Editor” at the end:
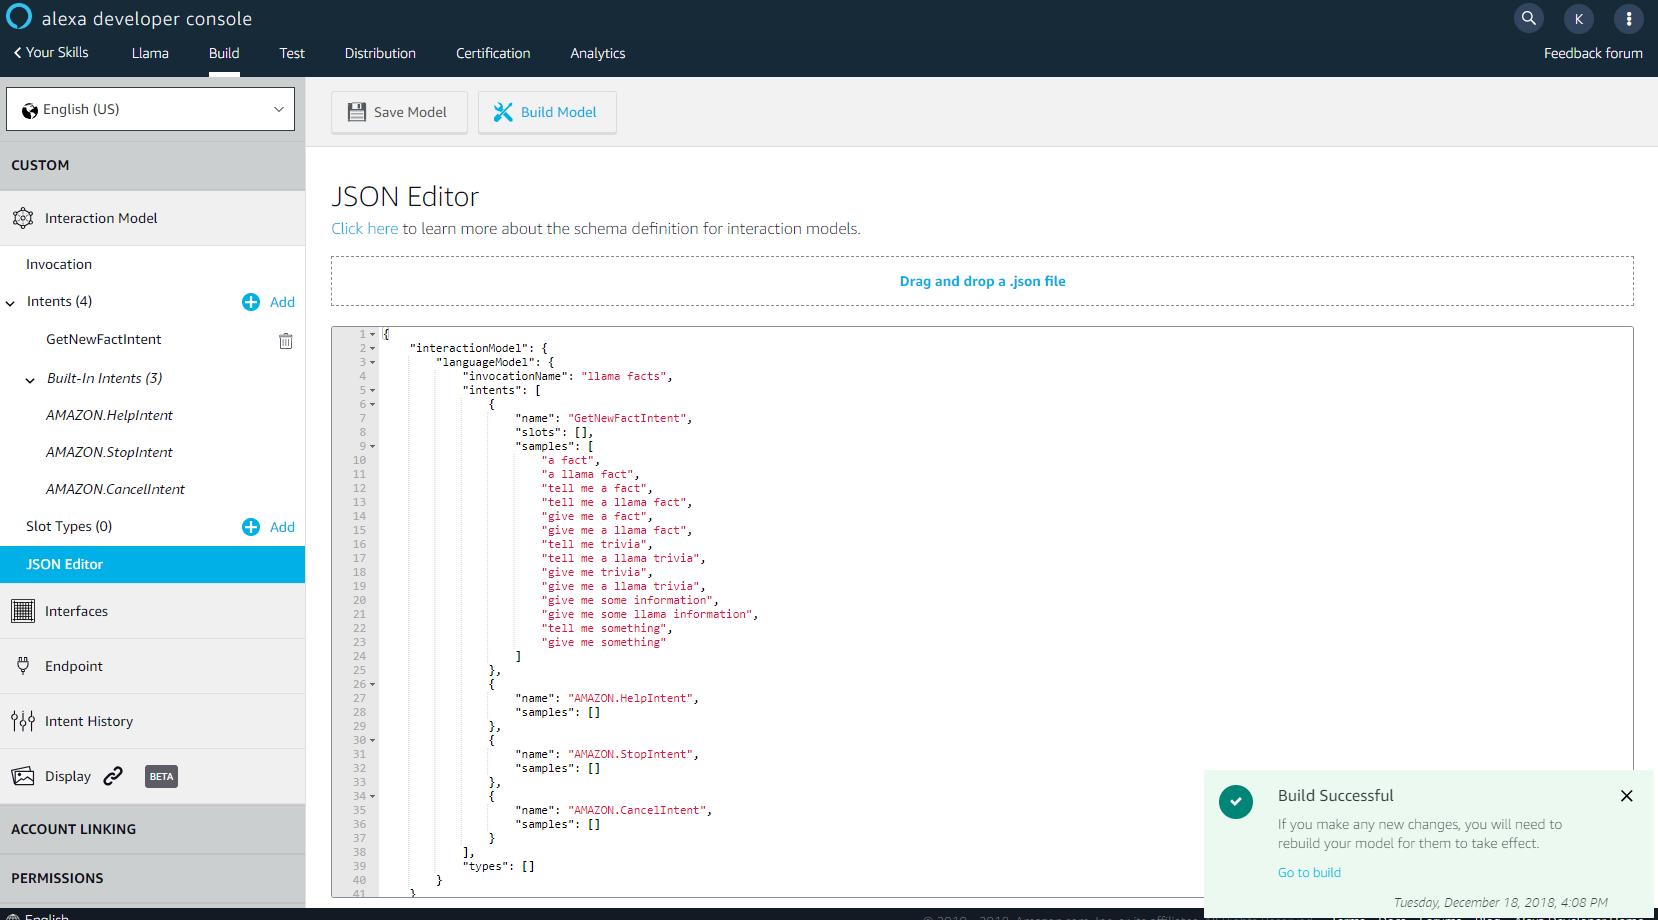
7. Copy the contents from here:
https://raw.githubusercontent.com/bespoken/llama-facts/master/models/en-US.json
And paste it into the JSON Editor and click on “Save Model” then on “Build Model”.
It should look like this:
8. Click the “Endpoint” button. We’re going to tell our skill where to go in order to process what someone tells the Echo.
For this screen, select HTTPS. Now you need to enter your URL. Get this URL back in the first Terminal window you left open and look for your public URL.
9. Copy it and paste in the URL box. On the Default region from the drop down menu choose “My development endpoint is a sub domain of a domain that has a wildcard certificate from a certificate authority”. Final results should look like this:
10. Click on “Save Endpoints”
And that’s it, you just learnt how to make an Alexa skill! Go ahead and tell to your Echo: “Alexa, open llama facts” and watch your activity come through to your computer!
Note: If you don’t have an Echo, you can still test your skill. Go to Echosim.io , here you’ll be able to use a virtual Echo Device where you can try out everything.
As long as your proxy is open you can use this with any Echo attached to your account.
Amazing, right? If you want to proceed and publish your own skill, you will still have to:
- Tailor the code for what you would like your skill to do
- Deploy it to AWS as a Lambda
- Submit it for certification to Amazon
We’ll leave these steps for a future tutorial – for now, enjoy all the new skills you’ve learned!
Bonus Round: Let’s improve our skill
If you like things so far now that you have your own skill, maybe you want to play a little with the code to continue tinkering it. If so, this section is for you, we’re going to improve the skill by asking the user if he wants another fact at the end.
Let’s start by opening the file where our code lives. Go to the uncompressed folder where we have your project and find the file:
Index.js
If you haven’t opened a file like this before you can select TextEdit on Mac or Notepad on Windows. You can also use the code editor of your preference to open it.
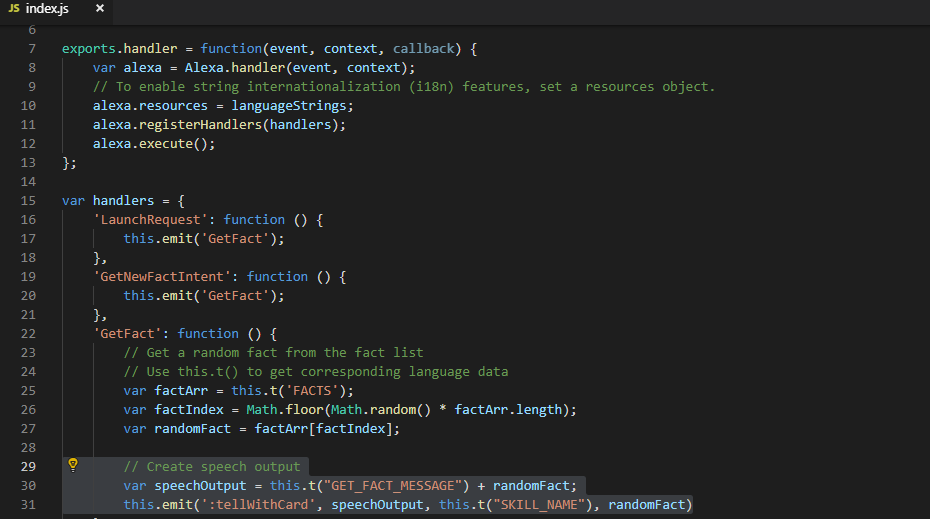
We’re going to find the part where we send the speech output.
Let’s explain these 3 lines:
- The first line is a comment to explain what we’re doing (all lines starting with // are comments and don’t affect the functionality).
- The second line is the placeholder in which we put our fact introduction (“Here’s your fact”), and then our random fact.
- The third line is we telling Alexa to tell the user what we put in the placeholder and put also information in a card.
Let replace those 3 lines with these 4:
// Create speech output
var getANewFactQuestion = " Say get a fact to get another fact or stop to finish for today.";
var speechOutput = this.t("GET_FACT_MESSAGE") + randomFact + getANewFactQuestion;
this.emit(':askWithCard', speechOutput, getANewFactQuestion, this.t("SKILL_NAME"), randomFact);
Copy these lines into your file, replacing the existing ones.
Here is what the new code is doing:
- The first line is a comment to explain what we’re doing.
- The second line is the placeholder in which we put a new question, asking if the user wants another fact. Our list of possible user phrases already includes “Get a fact” so we’re using that one.
- The third line is what we had before, but now we’re appending our question at the end.
- The fourth line tells Alexa to ask the user something using the placeholder and also to put information in a card. Because we’re asking something (:askWithCard), Alexa will wait for a response. And if the user takes too long, Alexa will ask the question again.
If your proxy is active, your new changes are already online! Go ahead and test them, if not start your proxy and you can try them out.
Summary
With this guide we:
- Downloaded sample code for a fact skill.
- Used the Bespoken proxy tool to test our skill locally.
With this tool, we didn’t need to put everything on the web to try it out. And if we want to add to the skill (like “enter more amazing llama facts”) we can just change it, et voila, it’s ready!
- Created our Amazon Developer Account.
- Make an Alexa skill and tested it.
- Improved our skill with new changes.
We hope you have fun creating your own skills!