Developers love automated testing and deployment, but up until recently, it has not been possible for voice apps. Luckily, with Bespoken’s suite of tools, first-class Alexa skill automation and testing are now achievable! We took one of our homegrown skills and used our set of testing tools, and have turned it into a showcase for best practices for Alexa skill testing and automation.
We brought together:
- ASK CLI – for Lambda deployment and skill updates
- Bespoken Tools (bst test) – for skill unit tests and end-to-end testing using the Alexa Skill Management API (SMAPI)
- Circle CI – for continuous integration and deployment
- Codecov – for code coverage tracking and reporting
This gives us a full-featured automation platform – one that ensures our skill is always working. And it’s a complete level of assurance – thanks to our tools, we can ensure that things are working at both a code-level as well as a whole system. The net result is a fun little skill that is a serious showcase for automation. We’ll go through it, piece-by-piece, starting with our Alexa skill automation for unit testing.
Unit Testing
For unit-testing Alexa skills, bst test uses our Virtual Alexa library. Virtual Alexa emulates the behavior of Alexa and generates JSON request payloads as if they were coming from it. It’s already integrated with Jest, so it’s a great way to ensure code quality. Here is a sample test:
| --- | |
| configuration: # This is the configuration section, you can define your locale or the mocks here | |
| locale: en-US | |
| --- | |
| - test: Launch request, play once with one player and stop. # Some metadata about this test sequence | |
| - LaunchRequest: how many persons are playing today? # In the left part we have the utterance, in this case it's a reserved word | |
| - one: please tell us your name # In the right part we have the expected result | |
| - jordi: # If we want to test several items within the response we do it like this ... | |
| - prompt: "let's start the game: jordi your product is Fitbit Charge 2 HR* Guess the price" | |
| - response.card.title: "Your product is: Fitbit Charge 2 HR" | |
| - response.card.image.largeImageUrl: "https://images-na.ssl-images-amazon.com/images/I/51NC9OeIr7L._SL1080_.jpg" | |
| - response.card.text: "Your product description is: A wristband worn health tracker and heart rate monitor, Fitbit Charge 2 HR helps you maximize your workout, better track calorie burn, get a snapshot of your cardio fitness and track your sleep." | |
| - 240: You said 240 , the actual price was 149 dollars. Your score for that answer is 0 points. Your next product is * Guess the price | |
| - stop: Goodbye! # A typical YAML sentence is composed by 2 parts separated by a colon | |
| --- | |
| - test: Launch request, play once with two players and cancel. | |
| - LaunchRequest: how many persons are playing today | |
| - 2: contestant one please tell us, what is your name | |
| - jordi: Contestant 2 please tell us, what is your name | |
| - caterina: "let's start the game: jordi your product is Fitbit Charge 2 HR* Guess the price" # Quotes because there is a colon in the right part | |
| - 149: you said 149 , the actual price was 149 dollars. Your score for that answer is 1000 points. Now is caterina turn | |
| - 4143: Now is jordi turn. Your next product is | |
| - cancel: Goodbye! |
(For a more complete write-up on unit-testing and this skill, take a look here)
Continuous Integration (CI)
Now that our unit-tests are in place, our next step is setting up continuous integration to run these tests whenever we make changes. There are a lot of great tools for this – we prefer CircleCI, but Travis, Jenkins, CodeShip, etc. are also great choices.
For running our unit tests, we need a circle.yml file, with a line like so in it:
| version: 2 | |
| jobs: | |
| test: | |
| docker: | |
| - image: circleci/node:6 | |
| steps: | |
| - checkout | |
| - run: npm install | |
| - run: sudo npm install -g ask-cli | |
| - run: sudo npm install -g bespoken-tools | |
| - run: sudo npm install -g codecov | |
| - run: | |
| name: unit testing | |
| command: bst test |
The last line, bst test is the key one. After doing some setup (such as establishing which Node version to run, and installing the ASK CLI), this actually runs the tests. Our project is setup so that every push triggers them.
Here is what our dashboard in Circle looks like for our last few runs:

All green, which is great – feel free to take a look for yourself.
Code Coverage
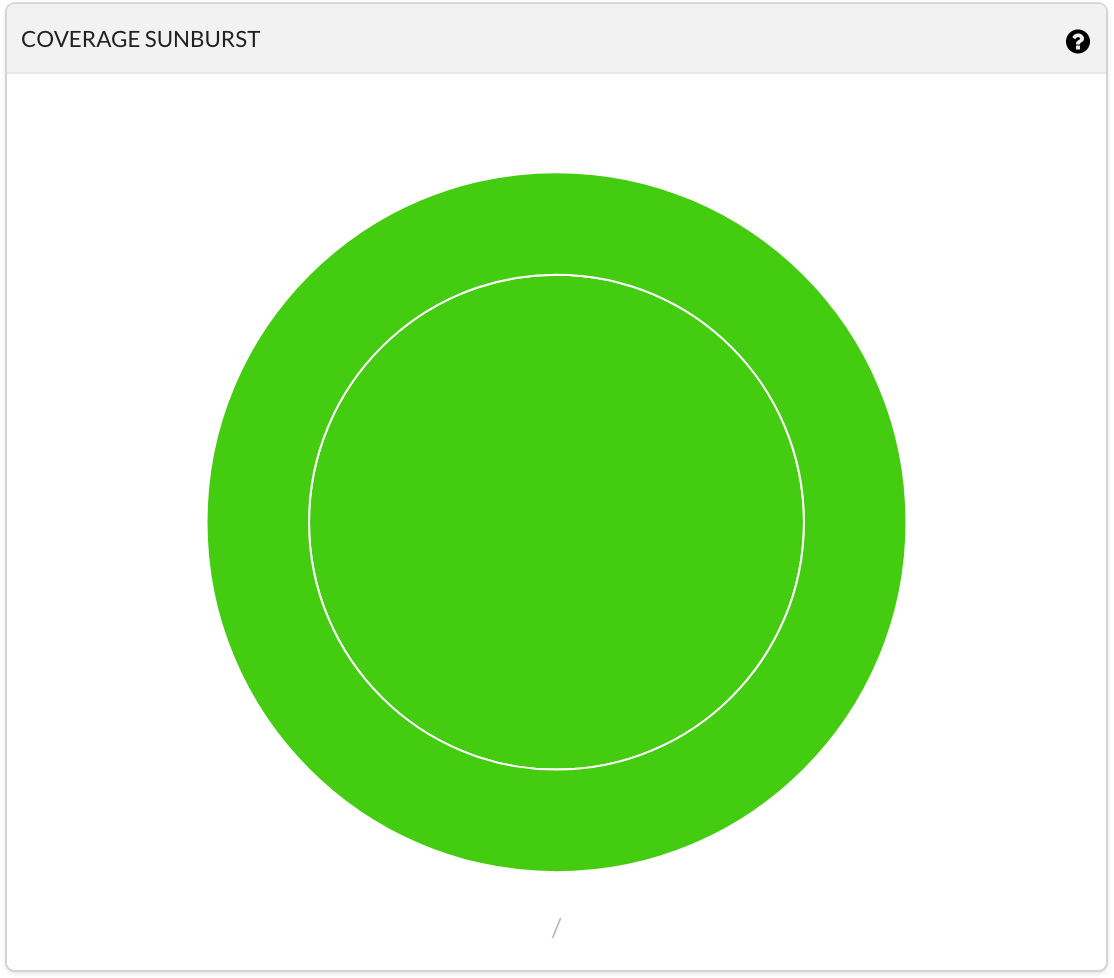
With our unit tests in place, the next piece is code coverage. For this, we use CodeCov, which is another tool that is free for open-source projects (same as CircleCI). It is easy to work with and provides nice graphs and visualizations of what’s happening with your unit tests over time.
Check out their interactive sunburst graph – it’s a fun way to explore unit test coverage.
End-To-End Testing
Also known as integration testing, but we use the term end-to-end to distinguish it from the “typical” unit-testing done via a CI system. In our case, we are deploying our code to a dev environment every time we commit to master – more on that in a moment. But before we do that deployment, we want to make sure our system as a whole is working. To that end, we use our tools in e2e mode.
What is the difference between our e2e and unit tests? Great question – the essential one is that our Unit tests work with Virtual Alexa and it just emulates Alexa – it mimics its behavior. The e2e use Alexa. It uses the SMAPI Simulation tools to interact with Alexa, and in turn to our skill. Both are testing our skill but in different ways.
Bespoken unit tests are for:
- Running unit tests against code, with minimal dependencies
- Measuring depth of testing and code coverage
- Ensuring code is working properly
Bespoken e2e tests on the other hand, are best for:
- Ensuring the interaction model is configured properly (remember, it is using the real Alexa Voice Service)
- Ensuring infrastructure (such as Dynamo and S3) is all in place and working correctly
- Ensuring there are no speech recognition issues
The last point we will expand on in future posts, but suffice it to say, most Alexa developers have run into the situation where they designed an interaction model that looked great on paper but did not survive first contact with the “enemy”: real users speaking to real devices.
The e2e tests can help tease these issues out. And since it’s part of our Alexa skill automation process, it will ensure as intents are added, as the code is enhanced, and as Alexa’s machine learning evolves, everything is still working perfectly. Awesome, right?
So, enough background – let’s look at an actual integration test:
| --- | |
| configuration: # This is the configuration section, you can define your locale or the mocks here | |
| locale: en-US | |
| type: simulation | |
| skillId: amzn1.ask.skill.612ef5f8-697a-43ab-ac3c-2523a0617b7b | |
| stage: live | |
| --- | |
| - test: Invoke skill, play once with two players and cancel. | |
| - open guess the price: how many persons are playing today | |
| - two: contestant one please tell us, what is your name | |
| - jordi: Contestant 2 please tell us, what is your name | |
| - caterina: "let's start the game: Jordi your product is * Guess the price" # Quotes because there is a colon in the right part | |
| - one hundred and forty nine: you said 149 , the actual price was * dollars. Your score for that answer is * points. Now is Caterina turn | |
| - forty three: Now is Jordi turn. Your next product is | |
| - cancel: Goodbye! |
It looks pretty similar to our unit test. Not surprising – they are using the same entry point, an utterance, to test with. But as just explained, under the covers, it is quite different. Also note that the expectations on our tests are a bit simpler, such as this line:
- caterina: "let's start the game: Jordi your product is * Guess the price"
Now, let’s bring it all together.
Continuous Deployment
In CircleCI, we set up our continuous deployment to run our end-to-end tests whenever commits are made to master. Then we deploy.
Our deployment is done via a shell script, which uses the ASK CLI. Our shell script:
- Sets up the AWS credentials (from environment variables securely set in Circle)
- Sets up the ASK credentials (again, from secure environment variables)
- Packages the Lambda code into a zip file
- Uploads it using the ASK CLI
We use shell script because it has so many handy file manipulation tools. It allows us to succinctly and easily do all the steps above.
With that in place, our deployment is set to run automatically whenever pull requests are merged. So we know that when updates are made, a new development version will be delivered to our testers to work with right away. Everything is in sync, and we have a smooth, highly-assured build pipeline.
And what about production? We do not auto-deploy to production – a manual step is required. But it’s a simple one – just tag a release with a name like “prod-*” and it will be pushed to production. In this way, we use a manual trigger to kickoff our automated workflow.
Summary
We’ve gone through a lot here – unit testing, CI, CD, end-to-end-testing.
You’re well in your way of Alexa Skill Automation. We will be expanding on these different points in future posts – we know it is a lot take in all at once.
Feel free to use this project as a template for creating your own highly-automated, highly-tested Alexa skill pipeline. And if you would like to go into more depth, as well as talk to the author (John Kelvie), sign up for one of our webinars as we do a deep dive on skill testing and automation – you can register here.
Hi:
Nice article, but I don’t understand how did you initial ask-cli (ask init) in CI?
This action need you to operate browser, but CI usually locate in remote computer.
thank
Hi Lebron! If you take a look at this file, you can see that we take our local ASK credentials and upload them to our project. In order to keep them secure, we make key values in the file environment variables. Take a look here:
https://github.com/bespoken-samples/GuessThePrice/blob/master/conf/ask_cli.json
During the deployment, we replace the values using this script:
https://github.com/bespoken-samples/GuessThePrice/blob/master/deploy.sh#L13
With that line, we have a “good” ASK credentials file, which we can then use to interact with the SMAPI. Hope that makes sense! Let me know if you have any questions.
-John
Hi John, I have created an alexa skill and also added ask cli support to it and also uploaded it to gitlab. And now I want that whenever there occurs a commit in master branch, the skill is deployed. I ran the same script file(https://github.com/bespoken-samples/GuessThePrice/blob/master/deploy.sh) just by changing last command with “ask deploy” but it’s showing the following error:
ENV:
/bin/sh: 1: hooks/pre_deploy_hook.sh: Permission denied
[Error]: Hook Scripts failed
What should I do to get it deployed through gitlab ci/cd. Please help.
Hi Maandeep, I have not used Gitlab much, but that error is coming from the ASK CLI. It is trying to modify the file system on which it is running (i.e., inside of Gitlab). The likely solution to this making changes to the permissions of the Gitlab processes so it can work as required by the ASK CLI.
For more information on what the hooks do, you can read here:
https://developer.amazon.com/docs/smapi/ask-cli-intro.html#what-hooks-do
Hi Lebron,
the ask-cli authenticates by the browser if there is not an ask-cli with a token present, so the little trick we do is that we generate it ourselves. Setting the ASK_ACCESS_TOKEN and the ASK_REFRESH_TOKEN in circle-ci as environment variables (you can grab those from your configuration in your computer). And we use this script (https://github.com/bespoken-samples/GuessThePrice/blob/master/deploy.sh) as part of the deployment process.